Guidelines
Guidelines allow you to mark specific points on the ruler. These points can then be locked on to with the mouse and allow you to move the mouse along the locked axis.
Adding and Removing Guidelines
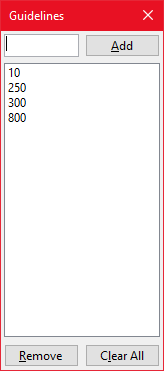
Add and remove Guidelines by using the Ruler Menu → Guidelines submenu, keyboard shortcuts or via the Guidelines dialog.
Adding a Guideline (keyboard shortcut Ctrl + Shift + Alt + A) will add a new guideline at the current cursor position on the ruler.
Removing a Guideline (keyboard shortcut Ctrl + Shift + Alt + D) will remove the nearest guideline to the current cursor position.
Both these functions can be assigned to a mouse button.
Clearing Guidelines
All the Guidelines can be cleared by using the Ruler Menu → Guidelines → Clear All submenu or via the Guidelines dialog.
Guidelines are also cleared before Importing Guidelines.
Locking to Guidelines
Creating a Guideline will allow you to lock the mouse to that Guideline.
Locking the mouse to a Guideline will allow you to move the mouse only along the locked axis.
This is done by using the Ctrl + Shift + Alt + G key combination.
Importing and Exporting Guidelines
You can import and export Guidelines by using the Ruler Menu → Guidelines → Import or the Ruler Menu → Guidelines → Export submenus or via the Guidelines dialog.
Either of these options will display a File dialog so that you can select the file to load or save.
Importing Guidelines will overwrite any existing Guidelines on the ruler.